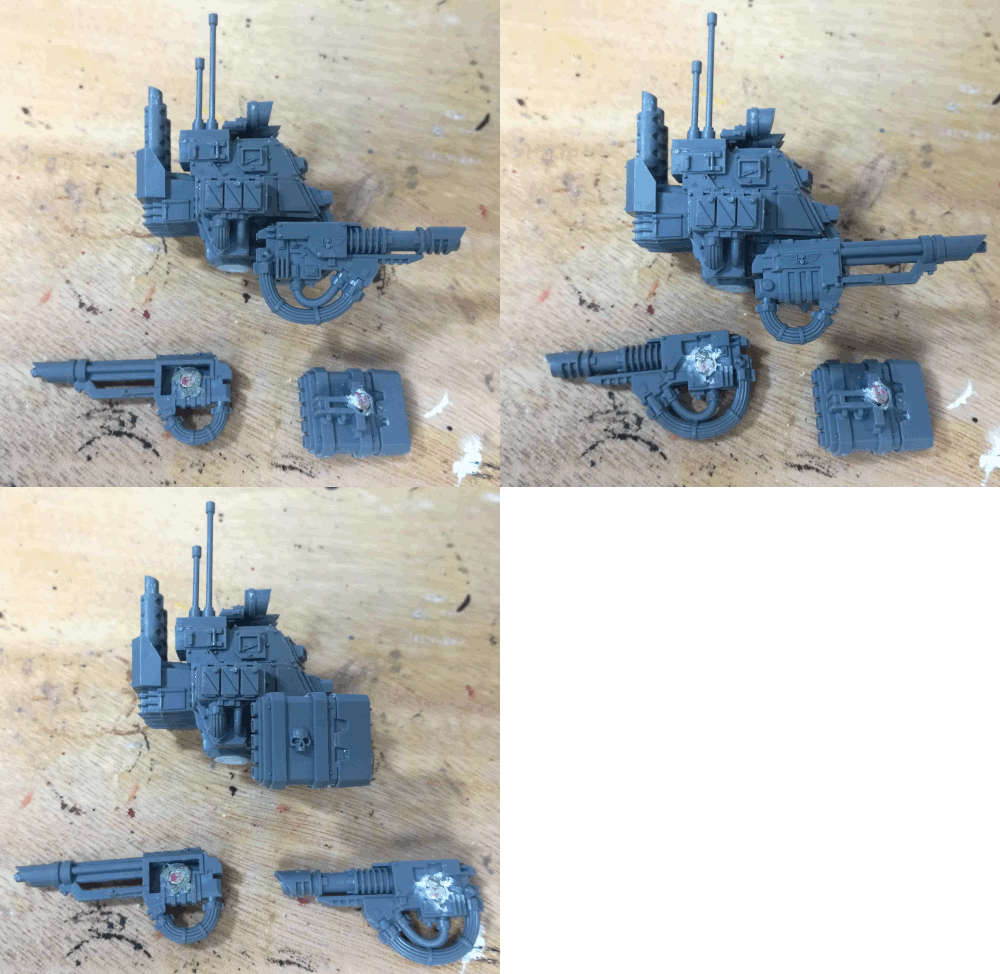
9 Tips for Magnetising Miniatures

#1 Less is More
Magnetising can be fiddly, it takes extra time, costs extra in magnets and can result in a miniature having lots of extra loose bits to paint, keep track off and eventually lose. Be sure it is worth the trouble. Likely the kit you intend to magnetise has many extra options but not all of which you will ever have a use for. Be judicious in what you choose to magnetise.
#2 Forget Infantry
Infantry and other smaller models may also have extra weapon options that you may consider magnetising. It is certainly possible to do this but the smaller model the more fiddly the task and the smaller the loose bits will be. Often it is simply better to make extra infantry with the other desired options integrated rather than magnetise them.
#3 Use Neodymium aka Rare Earth Magnets
Any magnets sold specifically for magnetising miniatures should be Neodynium magnets otherwise known as Rare Earth Magnets. These are very strong for their size although fairly expensive. Other lesser magnets will not likely provide sufficient bond strength.
Anything with a rating of N35 or more should be sufficient for most projects. Be aware that really strong magnets can potentially bond stronger than the glue used to seat it.
#4 Use Gel Super Glue for Bonding the Magnet
Thin super glue has its uses but when when gluing a magnet to an hand crafted recess it is advisable to use a gel super glue in order to ensure good contact between the magnet and the host material. The thickness of Gel Super Glue helps fill any gaps between the magnet and the material.
#5 Size Magnets with Drill Bit
Generally the magnets used for these purposes are round and are best fitted into a round hole. Since kit manufacturers rarely provide suitable holes for fitting a magnet, the hobbyist must make his own. The easiest tool more making holes is a drill bit. It can be hand or electrically powered but to get a snug fit for your magnet match the drill bit diameter to that of the magnet.
#6 Drill Conservatively and Check Depth Often
When drilling out a seating for a magnet be careful not to drill too deep. This is especially easy to do with power tools. As you see material being removed by the drill ease off and check the depth of the hole with the magnet you intend to place there.
#7 Mark Polarities
If using magnets on both ends of a join then it is critical to make sure the magnetic polarities are correctly aligned. Mis-aligned magnets will repel with the same strength as we would want them to attract. Before gluing, test the polarity of your magnets by placing them together. Use paint or a marker to mark one side of each to indicate its polarity.
If you are carefully consistent with your polarities then you can freely exchange weapons options across your whole collection.
#8 Use One Magnet Per Join
It is possible to use a passively magnetic material like plain steel on one side of the contact instead of a magnet. The bond will be a little weaker but polarities will not matter and it will cost a bit less in magnets. Snipping short section of paper clip is a very cheap source of small pieces of steel for this purpose.
If using this approach try to put the magnet one the side of the join that will always be present and the passive metal in the changeable asset. Ie: for a weapon option, use the steel in the weapons and the magnet in the weapon mount point. This way fewer magnets will be needed.
#9 Be Magnetism Aware When Seating
When seating a magnet it is easy to forget that it is a magnet and have the process disrupted by metals or other magnets lying around. I like to use the magnetism by placing the magnet using a steel tool such as a paperclip. Then to adjust it in its seating and hold it in place while the glue sets I use a non-magnetic tool such as a wooden toothpick.