Hobby Streak Day 38 – Dark Eldar Kabalite Warriors Assembled
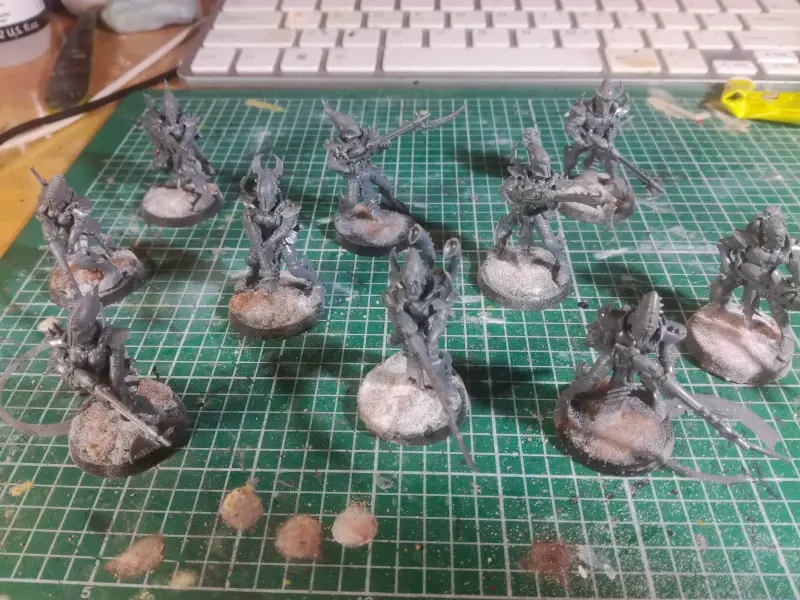
I did not feel like painting today so I picked a random kit from my pile of shame to assemble. The lucky winner was a box of Dark Eldar Kabalite Warriors. I have yet to build or paint any Dark Eldar, so today was a bit of a first.
One day I will sort out these naughty lads with a Raider to ride around in. With this in mind I kit them all out with splinter weapons, 9 splinter rifles and a splinter cannon. This load out will make the most of the splinter pods that I will add to their future murder boat. I gave the squad leader the phantasm grenade launcher. I know it is rubbish against spess mureens but it will be trolltastic against almost everything else. Point of fact none of my house armies are spess mureens anyway.
Let us make this moment a teachable one with a mini-tutorial for assembling multi-part plastic kits.
How to Assemble a Multi-Part Plastic Kit with Minimal Fuss and Risk of Injury
- snip
- pick
- plan and test build
- cement
- texture base
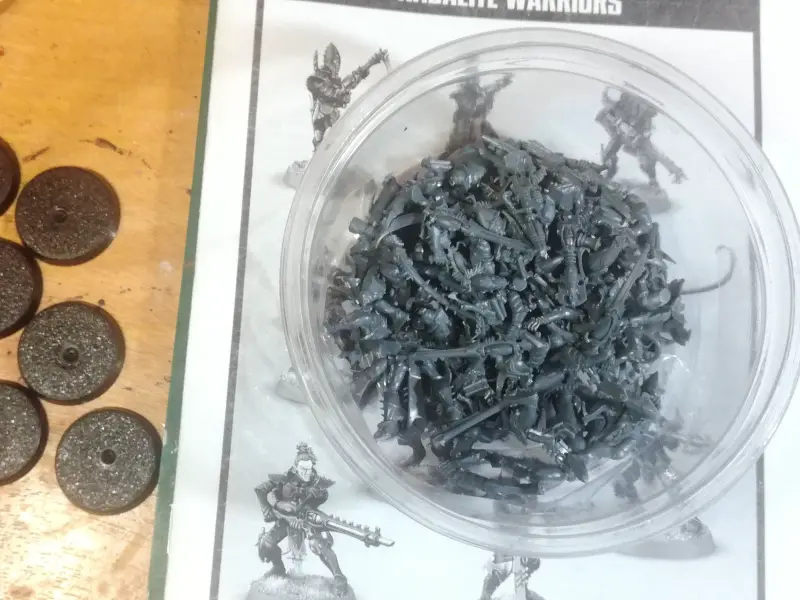
Step one: snip all the bits from the sprue with plastic cutters. You may as well snip them all, even the ones you will not use in the build, so you can be rid of the bulky sprue.

Step Two: Pick out the bits you will use for the build. Then clean up them up with a scalpel. Treat your blade with respect and be sure not push it with force into your own flesh. Dark Eldar may get Power from Pain but you will not. While doing this also try not to drop any of the fiddly little bits on the floor. Then drop them anyway and spend many precious minutes scouring the floor with a torch to find them.
Step Three: Read any instructions you have with the kit and also dry fit the bits to get a sense how they go together. Resist the urge to magentise the extra weapon options because for infantry size models the benefit is not worth the hassle. Instead just decide which weapon options you are going to take and make peace with that.
Step Four: Break out the plastic cement and begin welding* the bits together. Start by welding the legs to the plastic base. Then work upwards going next to the torso. Then arms, then head and then other bits like bayonets, spare ammo packs and what not. Always let a weld have sufficient time to harden before building more bits on it.
*Technically plastic cement is not a glue but rather a solvent which melts the surface of the plastic. After joining the treated surfaces together they will set becoming welded together as one piece. This is a process more comparable to joining two pieces of metal together using heat rather than bonding with an adhesive, thus we call it welding. Glued items remain distinct parts merely attached to each other by a layer of glue.
Step 5: Once assembled you can add some texture to the base. There are lots of ways to do this. Today I used thin super glue to glue dried builder’s sand to the base in patches. Then over that I put another layer of thin super glue over which I sprinkled bicarbonate of soda. The sand undulates the surface of the base and the bicarbonate of soda gives a finer texture over it.
When the glue is hardened, use a stiff old brush to brush off the loose and the excess. You can now wash the models in warm water and a little mild soap to remove your greasy fingerprints. Leave to dry and it will be ready for priming and painting.
Any remaining unused bits can be put in faction specific bits boxes for future kitbashes. Or else flogged on ebay.
